This short tutorial should see you through the basic steps necessary to add a folder of served static data files to a plugin that is part of a Gizmo based web application. Before starting you have to set up a development workspace containing the Gizmo plug-ins. For details on how, see page Getting Ready for Development with the Gizmo. We then assume that you have a plugin in which you want to create a new folder which you want to share as a web folder for static web content. This plugin could e.g. be the Bingo plugin you worked on in the Creating a Web Application with the Gizmo tutorial.
In the Eclipse package explorer view select the plugin you want to add the shared folder to. Then right-click and use the "New... > Folder" command to create a new folder named "my-shared-folder."
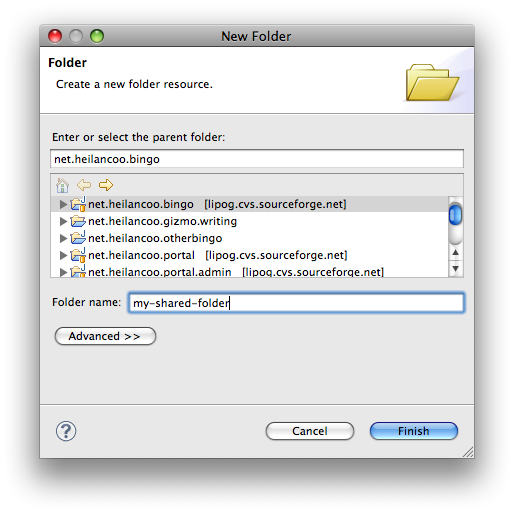
In the Eclipse package explorer view select the plugin you have added the shared folder to. Then right-click and use the "New... > File" command to create a file in the new folder.

Give the file a fitting name and click the "Finish" button. Now that you have created the file, give it some content like this:
<!DOCTYPE html PUBLIC "-//W3C//DTD HTML 4.01 Transitional//EN" "http://www.w3.org/TR/html4/loose.dtd">
<html>
<head>
<meta http-equiv="Content-Type" content="text/html; charset=UTF-8">
<title>This is a Shared File</title>
</head>
<body>
<h1>A Shared File</h1>
<p>Some content.</p>
<p>And some more.</p>
<p>Then there could be plenty more beyond this...</p>
</body>
</html>
This then wraps up the preparatory steps. All that's left now is to actually publish the folder.
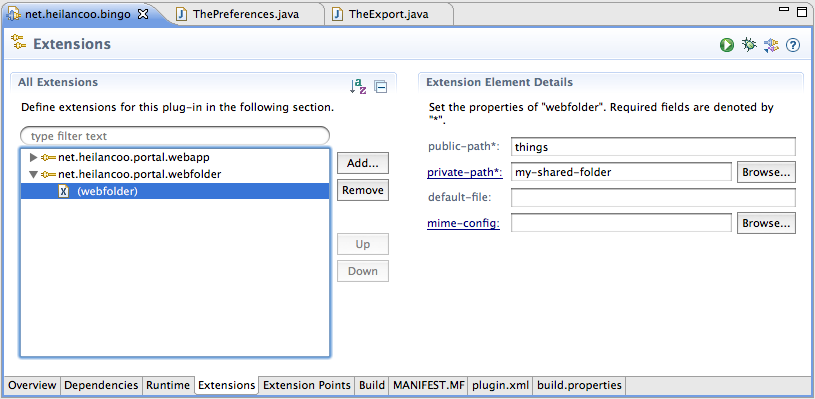
Open the manifest editor by double clicking either file "plugin.xml" or "MANIFEST.MF" and select the "Extensions" tab:
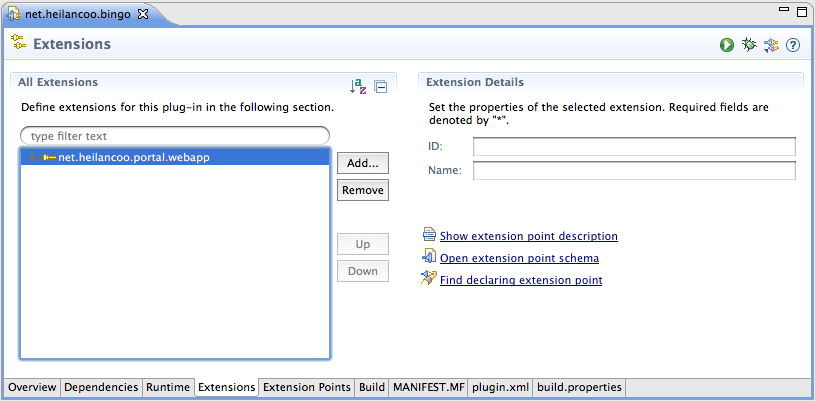
Click the "Add..." button to bring up the extension point selection dialog.
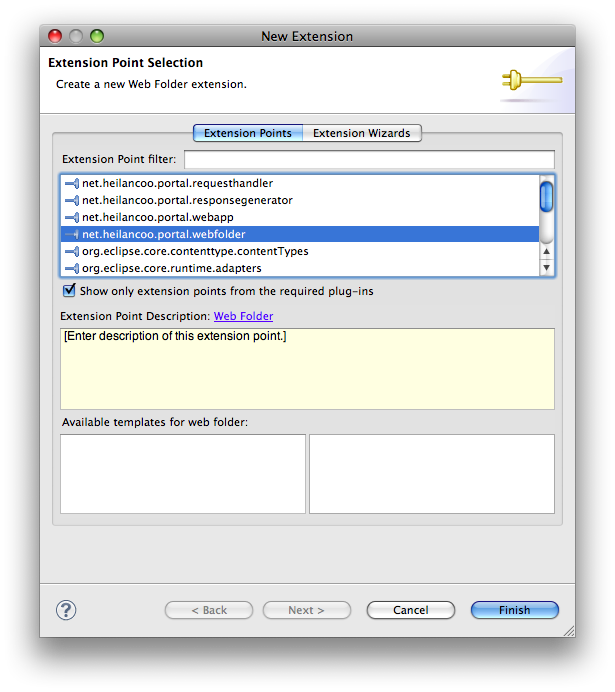
Select the "net.heilancoo.portal.webfolder" extension point and click the "Finish" button. This leads you back to the extensions section in the manifest editor:
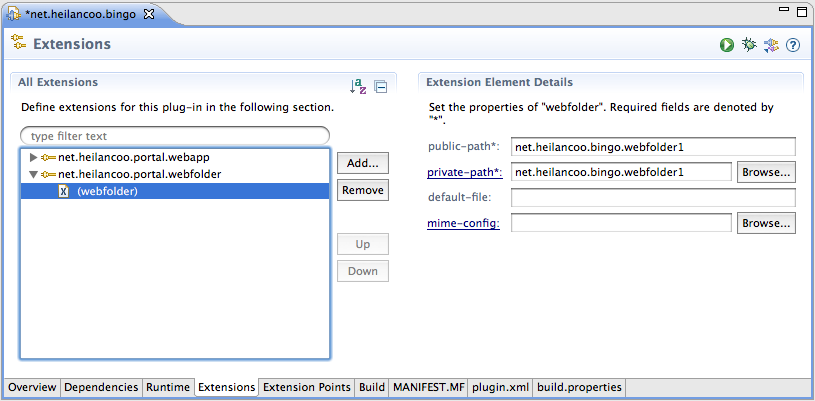
On the right hand side in the "Extension Element Details" area, change the "private-path" fields so that the private path points to the folder "my-shared-folder" that you created earlier. The "public-path" will be the path you use in the URL later.
Save this file now.
Start the gizmo. An explanation of how the Gizmo is started up is in Creating a Web Application with the Gizmo: Create a Run Configuration.
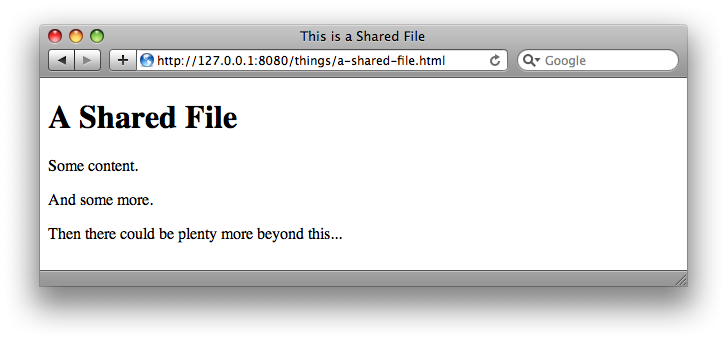
Open a browser, point it at the gizmo and you should see something like this:
That't it!